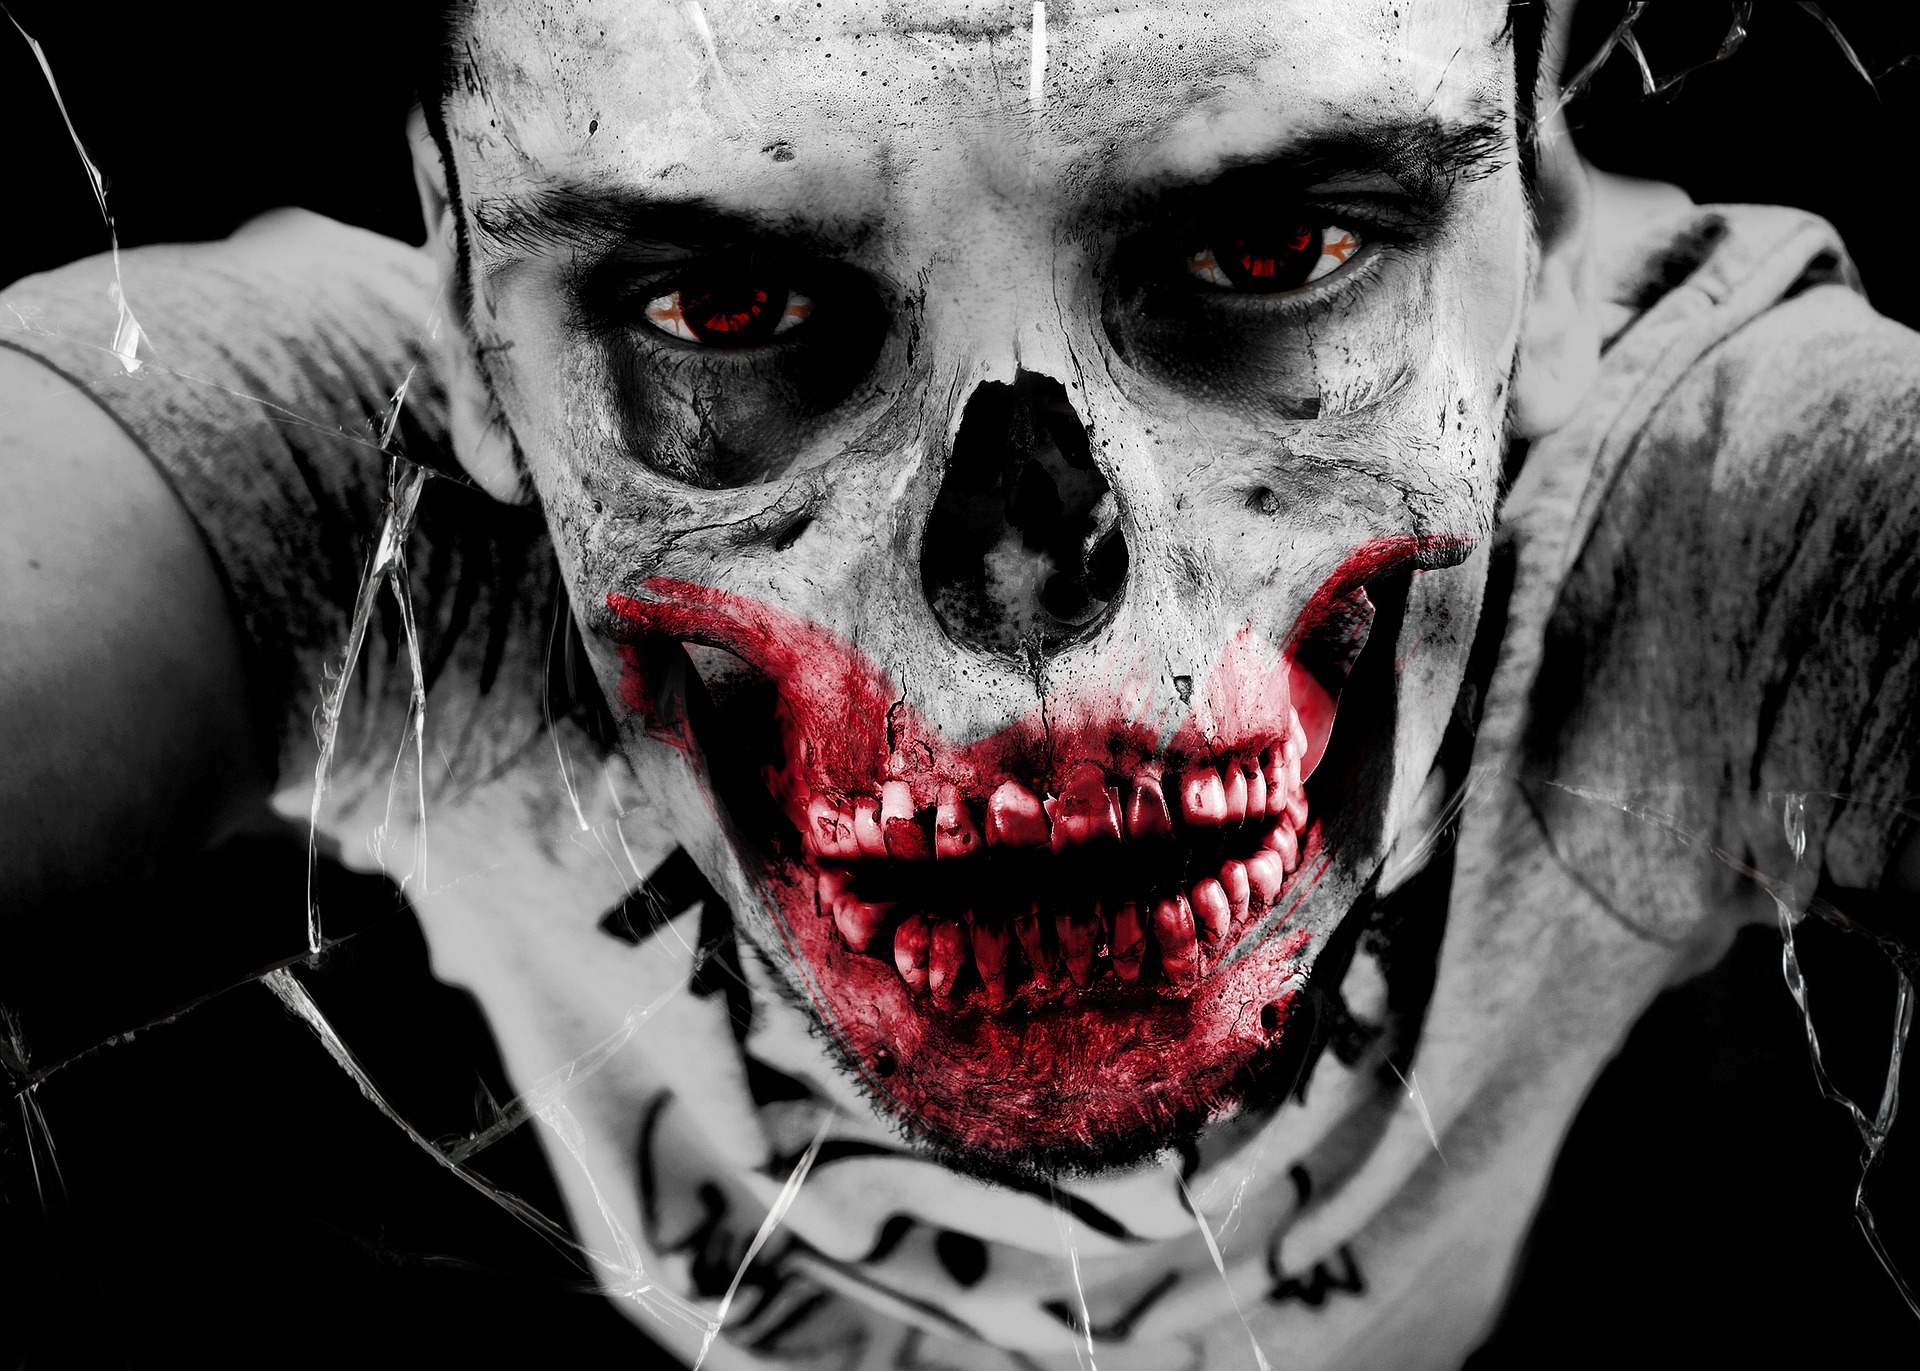
Scary photos work best when they feel believable, not overdone. The strongest horror images use shadow, angle, texture, and timing to create tension, whether you are shooting with a phone, DSLR, mirrorless camera, or cinema setup.
What Makes a Scary Photo Work
A scary image usually has one or more of these ingredients: darkness, distorted perspective, harsh shadows, a hidden subject, or a face that feels unnatural. Horror photography often relies on the contrast between what the viewer can clearly see and what they can only imagine. That is why a small amount of light in the right place can be more effective than a bright, fully lit scene.
The goal is not just to photograph something “gross” or “creepy.” It is to create unease. A doorway half-lit by a flashlight, a face lit from below, or a figure standing far in the background can feel far more disturbing than a heavily staged image.
Check Out This Blog>>Beach Photography Made Easy: A Beginner-to-Pro Guide to Taking Stunning Beach Pictures
A Brief History
The roots of scary photography go back to the 19th century, when photography itself was still new. One of the earliest horror-adjacent traditions was spirit photography, where photographers like William Mumler produced images that appeared to show ghosts alongside living people. These images were often created with double exposures or darkroom tricks and became popular during the Victorian era, when death, mourning, and spiritualism were deeply woven into culture.
As photography developed, artists used the camera to explore Gothic themes, surreal imagery, and psychological unease. Over time, horror photography expanded from supposed ghost images into staged portraits, Halloween scenes, cinematic stills, and fine-art work focused on fear, decay, and mystery.
Best Cameras to Use
You do not need an expensive camera to capture scary photos. In horror photography, lighting and concept matter more than gear. Still, some cameras give you more flexibility in low light and editing.
| Camera type | Why it works for scary photos |
|---|---|
| Smartphone | Great for beginners, easy to use, and surprisingly good in low light with modern night modes. |
| DSLR | Offers manual control over shutter speed, aperture, and ISO, which is useful for shadow-heavy scenes. |
| Mirrorless camera | Excellent in low light, lighter than many DSLRs, and ideal for fast setup and creative control. |
| Full-frame camera | Strong choice for professionals because it handles shadows, noise, and dim environments very well. |
| Cinema camera | Best for highly stylized horror shoots, especially when you want a film-like look and detailed color grading. |
For most creators, a mirrorless or DSLR camera is a sweet spot because you can control exposure precisely. Many horror shooters also recommend focusing on lighting first, since even a modest camera can create dramatic results if the scene is well lit.
Lighting That Creates Fear
Lighting is the most important part of spooky photography. Dark, directional light creates mystery, while soft even light usually removes tension. A classic horror look often uses low-key lighting, side lighting, backlighting, or under-lighting from below the face.
Try these lighting approaches:
- Use a flashlight, LED panel, or small torch as a single light source.
- Place the light low and slightly off center to carve sharp shadows into the face.
- Use side lighting to emphasize texture, wrinkles, claws, smoke, or rough clothing.
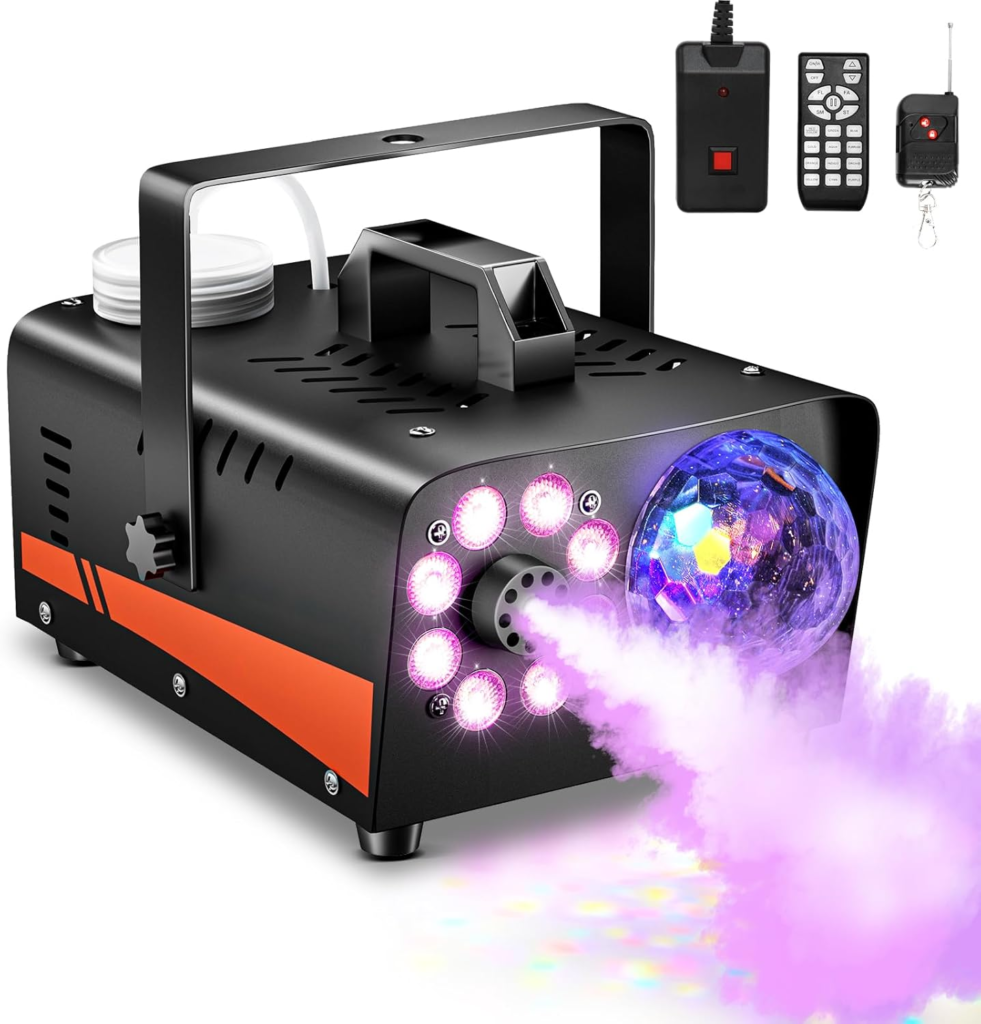
- Backlight a subject with fog, haze, or mist to create a ghostly silhouette.
- Add colored gels in red, blue, green, or purple for an unnatural horror mood.
If you want a true creepy feel, avoid lighting the entire scene evenly. Let some detail disappear into darkness. That missing information is what makes the viewer uneasy.
Best Time to Shoot
The best time depends on the mood you want.
- Night: Best for maximum mystery, shadows, and eerie isolation.
- Blue hour: The short time just after sunset gives a dark, moody sky without complete blackness.
- Foggy mornings: Great for ghostly outdoor portraits and abandoned-location looks.
- Overcast days: Useful when you want a flat, unsettling atmosphere without harsh sunlight.
Beginners often do better during twilight or cloudy weather because the light is easier to control. Professionals may prefer full darkness because it gives more room for artificial lighting and post-production effects.
Beginner Tips
Start simple. A scary photo can be created with one model, one light, and one strong pose. Use a tripod if your shutter speed is slow, and try a timer or remote shutter so the camera stays steady.
Useful beginner tips:
- Shoot in manual or shutter-priority mode.
- Keep the background plain so the subject stands out.
- Ask your subject for a still, tense expression rather than an exaggerated scream.
- Crop tightly around the face or hands for more intensity.
- Practice with shadows from doors, blinds, hands, branches, or fabric.
A very effective beginner trick is to shine a light from below the face. It is simple, but it can instantly make a portrait look unnatural and unsettling.
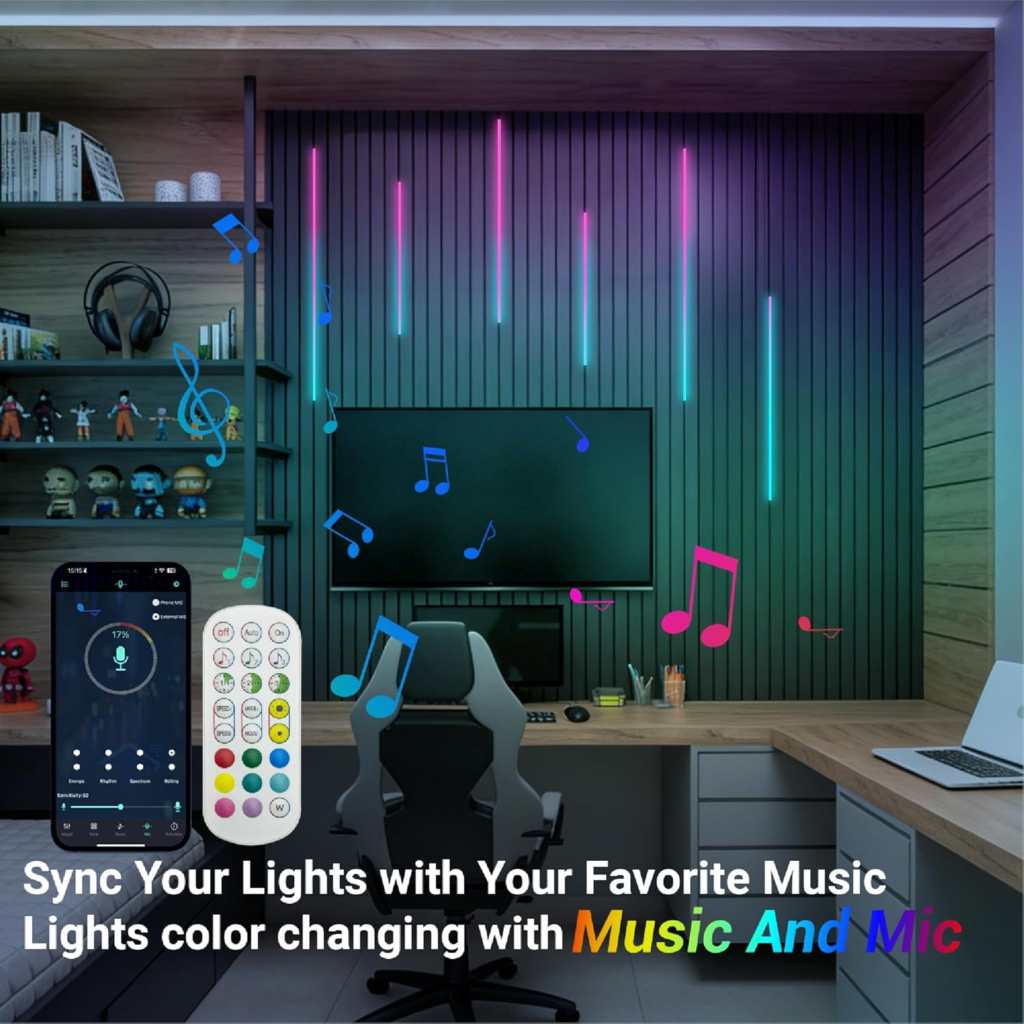
Check This Out >> HAMRVL Black RGB+IC Smart Recessed Lighting Wall Panel Lights, 6PCS Slat Wall Lights with APP & Remote Control, Color Chasing Effects
Pro Techniques
Professional scary photography often combines camera work, styling, and editing. You can use composites, double exposures, motion blur, or layered shadows to make a scene feel supernatural or surreal.
Advanced ideas include:
- Create a ghost effect by blending two exposures.
- Use slow shutter speeds to blur movement while keeping part of the frame sharp.
- Photograph through glass, smoke, lace, or broken materials for texture.
- Use post-production to deepen contrast, desaturate colors, or add selective color.
- Build a story into the frame so the image feels like a scene from a horror film.
Professionals should also think about prop design, costume detail, and location scouting. An abandoned hallway, basement, attic, or wooded path can add more fear than any digital effect alone.
Check Out This Blog>>Family Pictures Made Easy: A Friendly Guide to Beautiful, Natural Portraits
Final Thoughts
Capturing scary photos is really about controlling what the viewer sees and what they do not see. With the right camera, careful lighting, and a strong concept, you can create haunting images without needing expensive gear or advanced software.
Jamie L. Taylor
Soft Life Luxury