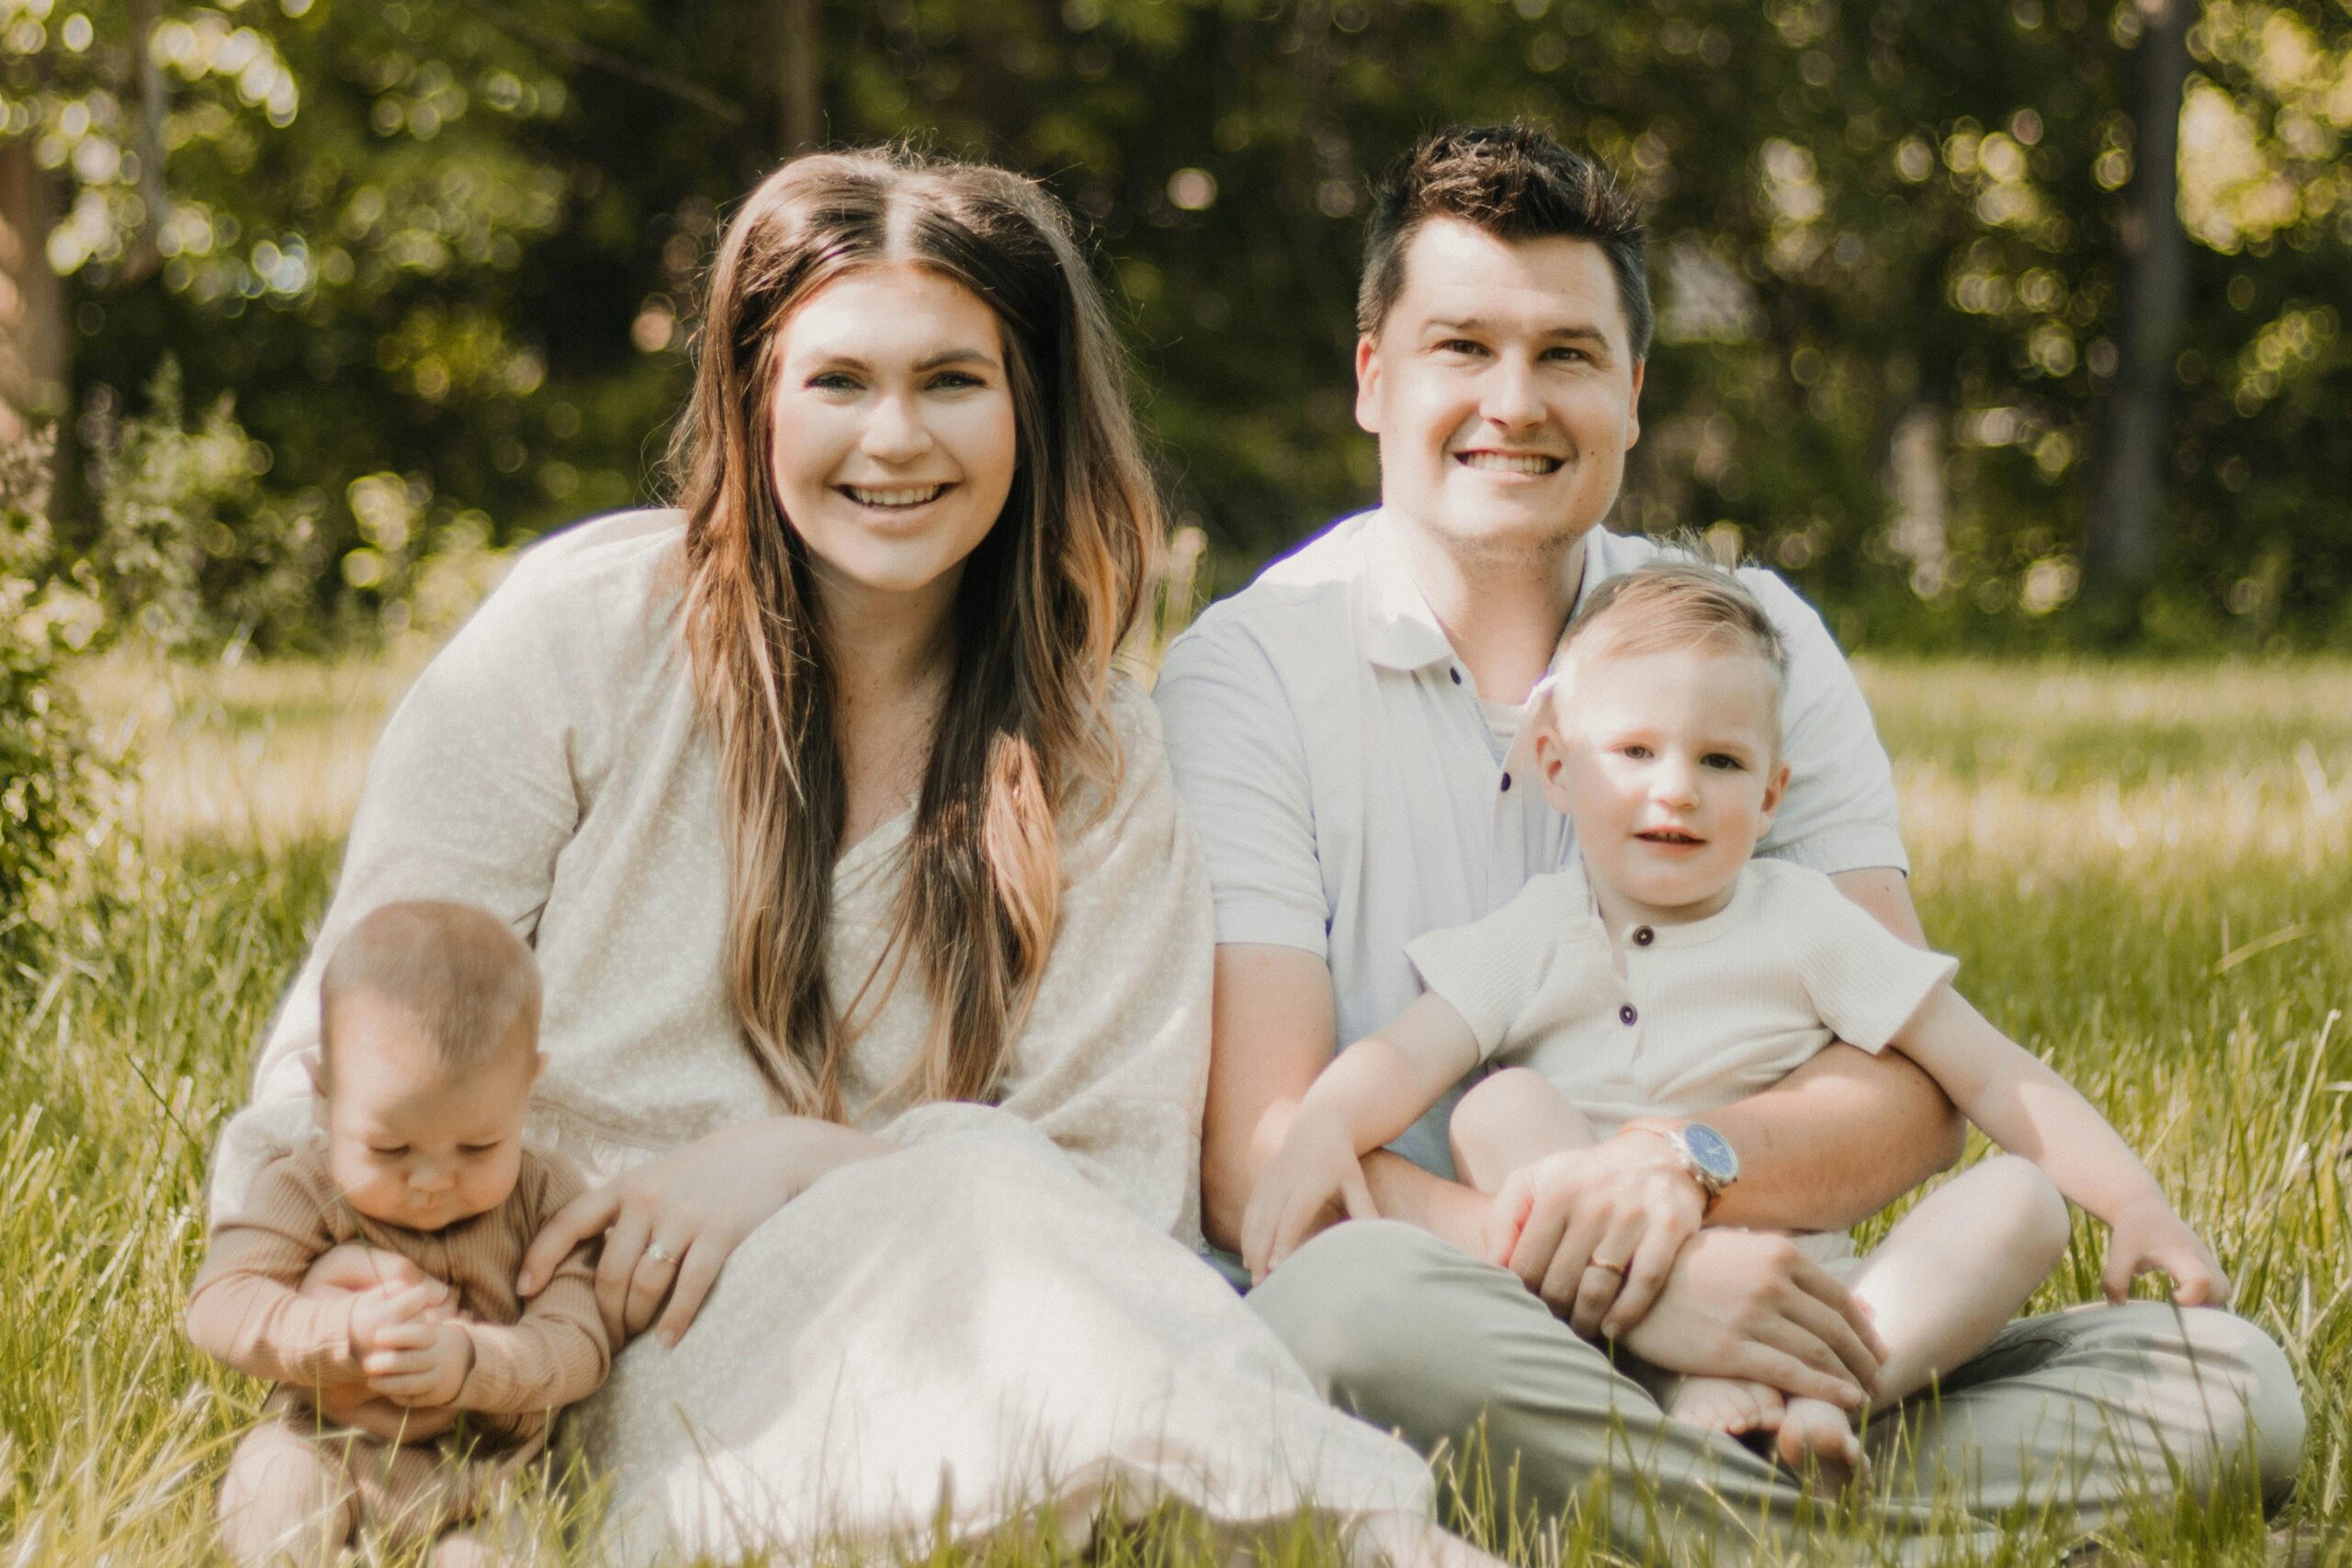
Family pictures are more than posed smiles; they capture connection, personality, and the season of life your family is in. The best family portraits usually come from simple planning, soft light, and equipment that matches your goals, whether you are a beginner with a phone or a professional using a full camera kit.
What Family Photography Is
Family photography is the practice of photographing relatives together in a way that feels genuine, flattering, and timeless. It can be done indoors, outdoors, at home, in a park, or in a studio, and it often focuses on expressions, relationships, and candid moments rather than stiff poses.
The goal is not just a “nice picture,” but a portrait that tells a story about who your family is right now. That is why good family photos often balance direction with natural interaction.
Check Out This Blog >>Chasing the Last Light: How to Capture Perfect Sunset Photos Every Time
A Short History
Family portraiture has roots in early portrait painting, then later in photography as cameras became more accessible. In the 19th and early 20th centuries, portraits were formal and often taken in studios because long exposure times made movement difficult. As camera technology improved and film became easier to use, family pictures became more casual and more common in everyday life.
Today, digital cameras and smartphones have made family photography accessible to almost everyone, while professional portrait sessions still remain popular for holidays, milestones, and keepsakes. This shift helped move family pictures from rare formal records to regular storytelling images.
Equipment Needed
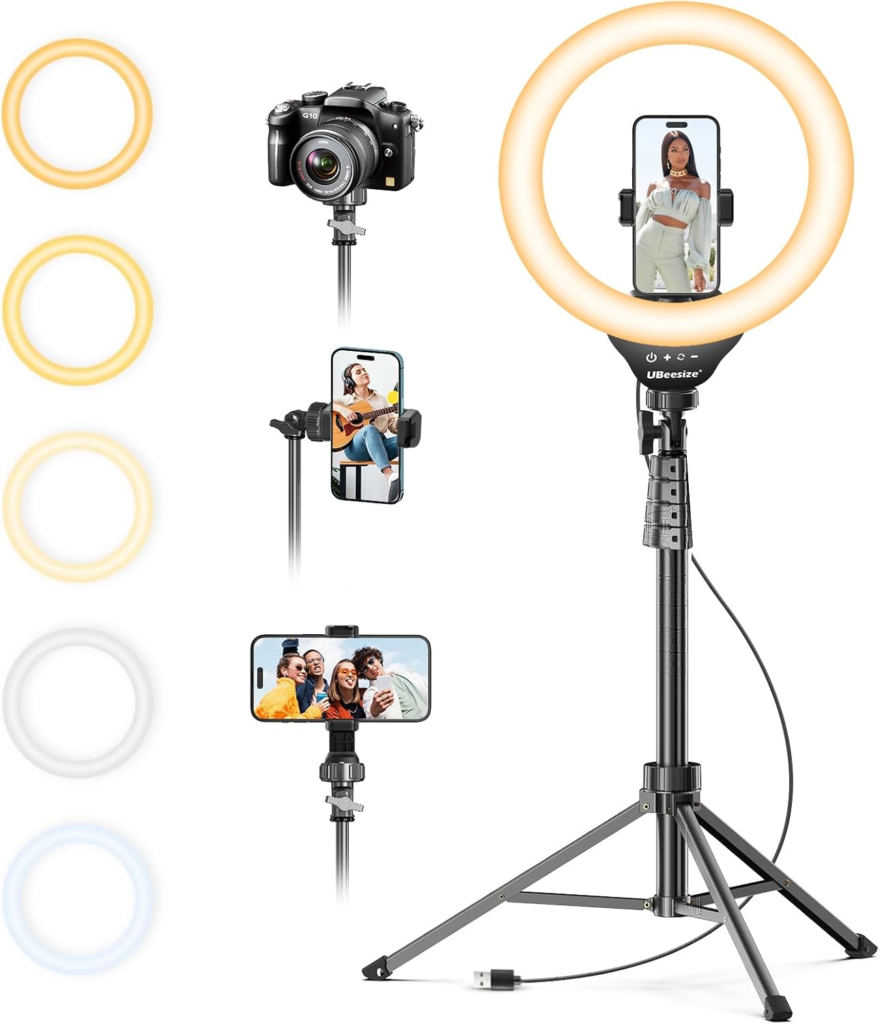
Here is a practical equipment list for family pictures, from basic to professional:
For beginners, the most important “equipment” is actually good light and a simple setup. For professionals, a camera body with strong autofocus, a versatile portrait lens, and controlled lighting can make a big difference in speed and consistency.
Best Time for Photos
Golden hour is one of the best times for family pictures. That is the hour after sunrise and the hour before sunset, when the light is soft, warm, and flattering on skin tones.
If you want a calmer look with fewer harsh shadows, avoid midday sun whenever possible. Morning sessions can also work very well, especially for families with young children, because kids are often fresher and the light is still gentle.
For indoor sessions, choose a room with large windows and indirect light. Soft natural light from the side usually looks better than overhead light, which can create shadows under the eyes and nose.
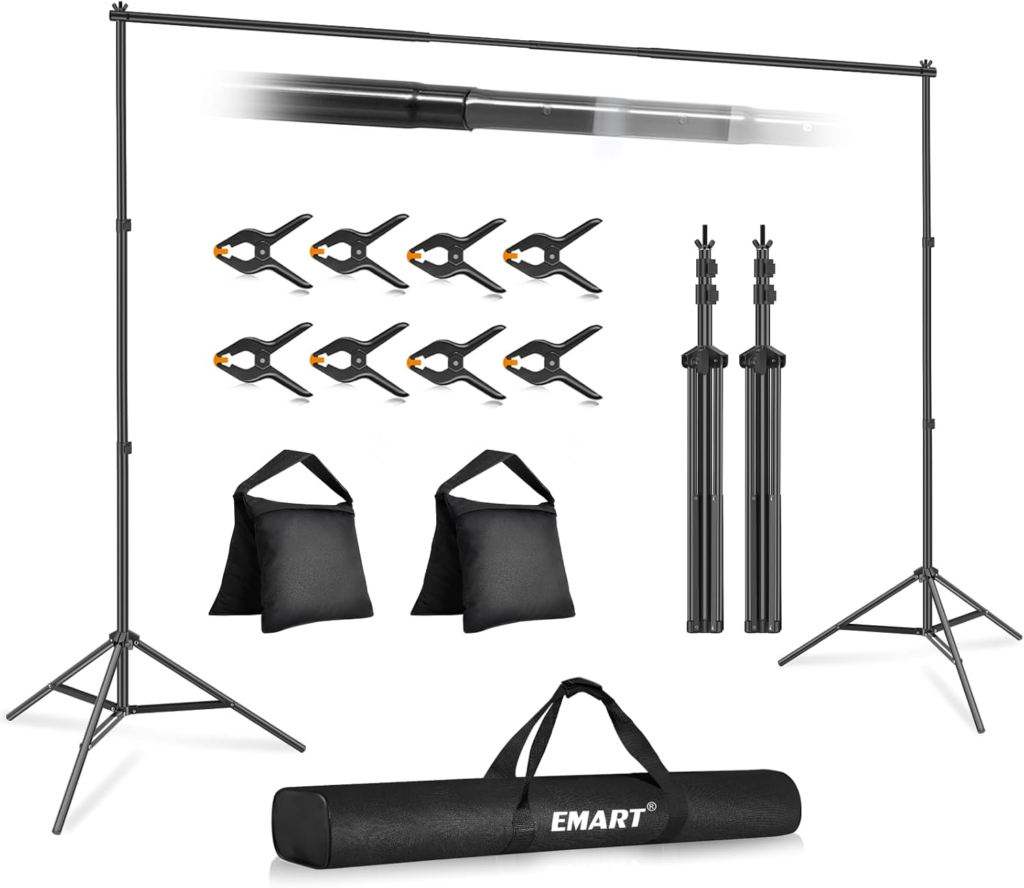
Check This Out >> EMART Backdrop Stand 10x7ft(WxH) Photo Studio Adjustable Background Stand Support kit
Lighting Advice
Lighting is the biggest difference between an average family photo and a great one. Outdoors, look for open shade, the edge of a building, or a softly lit area near sunset to keep the light even and flattering.
Beginners should start by facing subjects toward soft natural light and avoiding direct sun on faces. Professionals may use cross-lighting, strobes, or large softboxes to create balanced light across larger family groups.
A useful rule is this: the bigger and softer the light source, the gentler the portrait will look. That is why diffusers, umbrellas, and softboxes are so popular in family photography.
Beginner Tips
Keep poses simple and encourage interaction instead of forcing everyone to stare at the camera. Small prompts like “walk toward me,” “hold hands,” or “tell a joke” often create more natural expressions.
Use a wide enough lens or step back a little so the frame does not feel cramped. Also, take many shots in a row because family photos often hinge on one perfect blink-free frame.
Check Out This Blog >>Rise & Shine: The Ultimate Guide to Capturing Stunning Sunrise Photos
Professional Tips
Professionals should plan the session around the family’s energy, children’s ages, and the location’s light quality. Having a clear plan for poses, movement, and backup lighting helps the shoot stay efficient and relaxed.
For larger families, even light placement becomes more important because every face needs to be visible and flattering. Many pros also carry extra gear for fast changes in weather, sun position, and subject movement.
Jamie L. Taylor
Soft Life Luxury