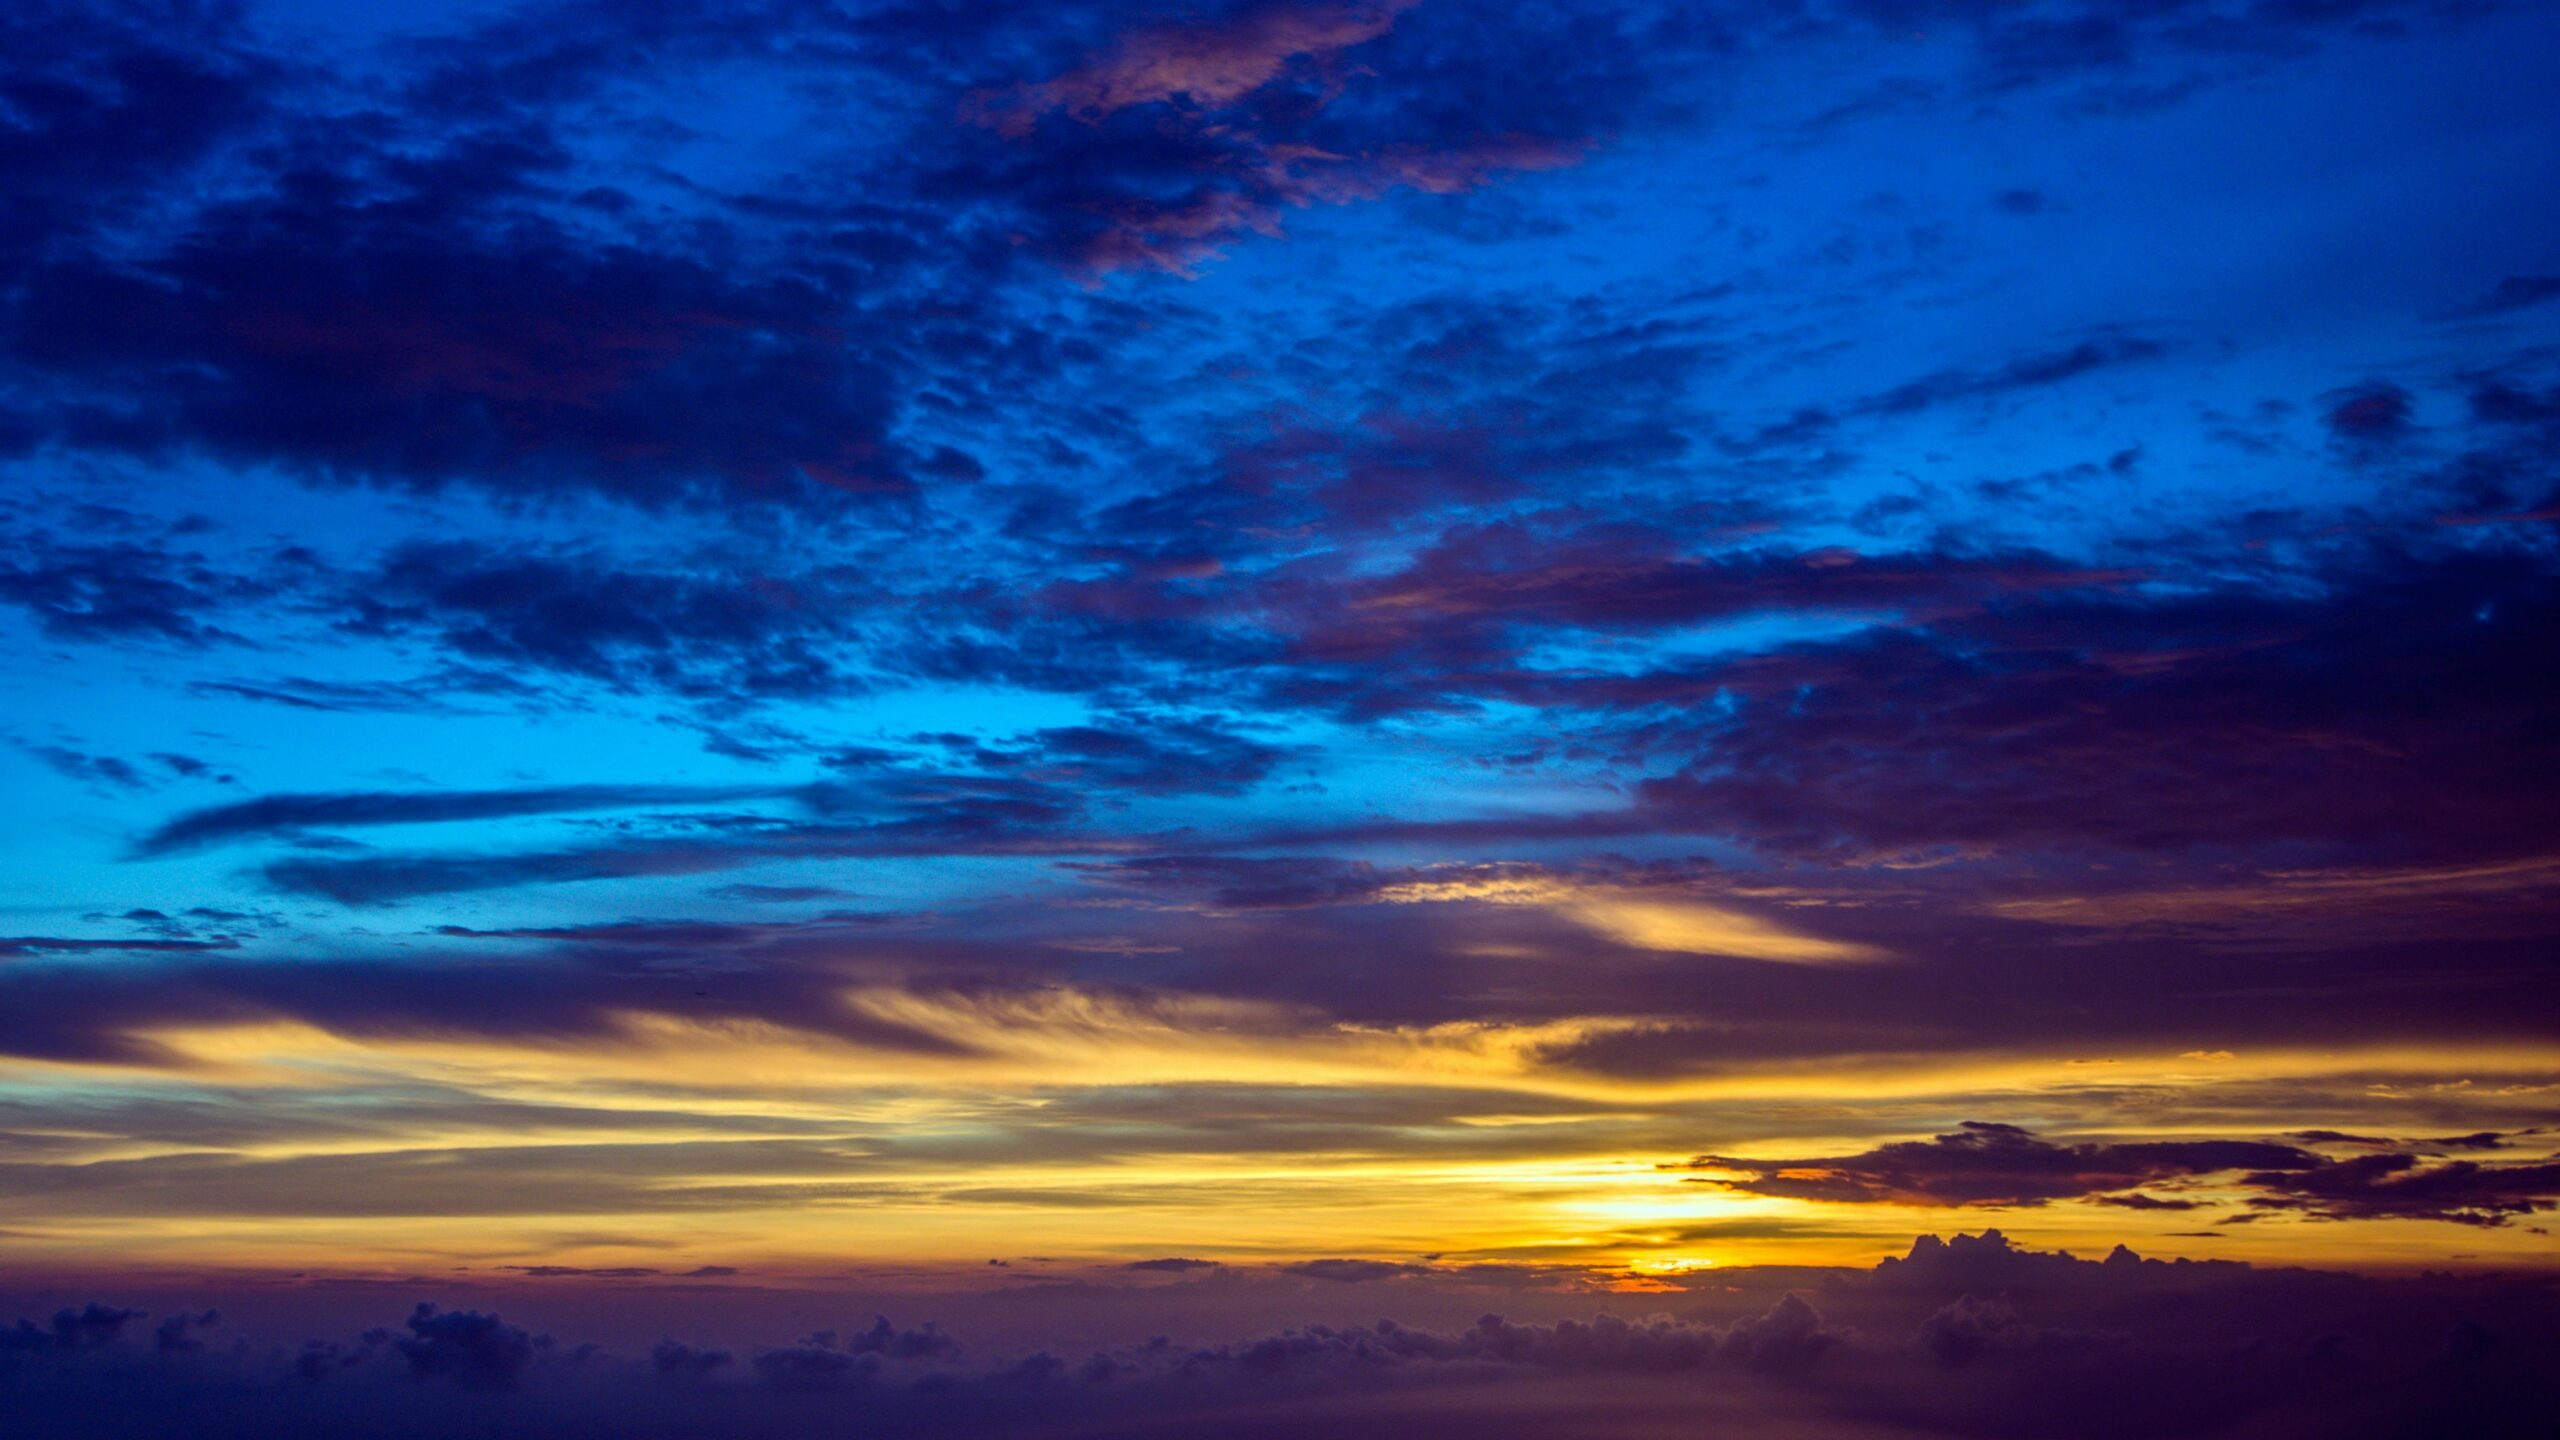
Sunset photography is one of the easiest ways to create dramatic, eye-catching images, but it takes more than pointing your camera at the horizon. The best results come from planning ahead, using the right gear, and understanding how light changes minute by minute.
Why Sunset Photos Work
Sunsets are popular because the light is naturally soft, warm, and full of color. As the sun gets lower, shadows stretch longer and the sky often turns orange, pink, purple, or deep blue, which creates strong visual contrast. That dramatic shift in light is why sunset scenes can look polished even when the subject is simple.
Historically, photographers have chased “golden hour” light for decades because it flatters landscapes, portraits, and silhouettes. Landscape photographers in particular have long favored sunrise and sunset because the low angle of the sun reveals texture and adds depth to scenes.
Check Out This Blog >>Rise & Shine: The Ultimate Guide to Capturing Stunning Sunrise Photos
Best Time to Shoot
The best time for sunset photography is not only the moment the sun touches the horizon. The most beautiful light often happens 20 to 45 minutes before sunset and continues for a short time after the sun disappears, especially during golden hour and blue hour. The sky can change fast, so arriving early gives you time to compose, test exposures, and react as the light shifts.
For beginners, a simple rule is to start shooting about an hour before sunset and keep going until the sky turns deep blue. Professionals often stay even longer because the post-sunset color can create some of the most striking images.
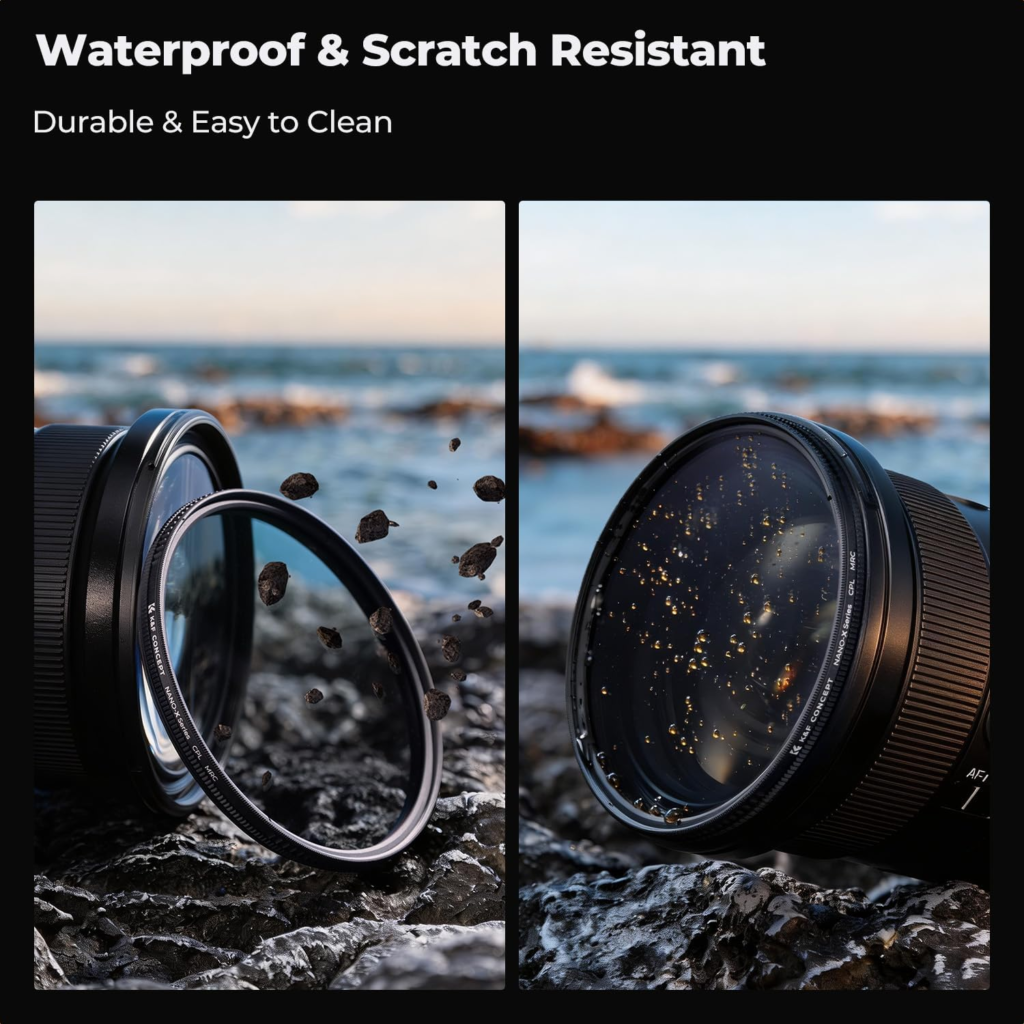
Check This Out >> K&F CONCEPT 82mm Circular Polarizers Filter Polarizing Filter 28 Multi-Layer Coated Super Slim High Definition CPL Lens Filter (Nano-X Series)
Equipment You Need
You do not need expensive gear to take beautiful sunset photos, but a few tools make a big difference. Here is a practical equipment list:
- Camera or smartphone: Any modern camera can work, but a DSLR or mirrorless camera gives more control over exposure and focus.
- Wide-angle lens: Great for landscapes because it captures more of the sky and foreground.
- Tripod: Helps keep images sharp as light fades and shutter speeds slow down.
- Remote shutter release: Reduces camera shake when taking long exposures.
- Neutral density filter: Useful when you want longer exposures or to control bright light near the horizon.
- Lens cleaning kit: Dust and smudges become more visible in strong sunset light.
- Extra batteries: Long sessions, live view, and cold conditions can drain power quickly.
- Optional app for planning: Sunset and sun-position apps help you time your shoot and scout the best angle.
Check This Out >> CamKix Camera Shutter Remote Control with Bluetooth Wireless Technology

Camera Settings That Help
A strong starting point is aperture priority or manual mode, especially if you want consistent results as the light changes. Many photographers begin around f/8 to f/16 for landscape sharpness and a deeper field of view. ISO 100 is usually the cleanest starting point, then you can raise it gradually as the scene gets darker.
White balance also matters. Cloudy or shade settings can bring out warmer sunset tones, while auto white balance may sometimes flatten the color. If you want a bright starburst effect from the sun, a narrower aperture such as f/16 or f/22 can help create that look.
Composition Tips
A sunset alone is not always enough to make a memorable photo. Including a strong foreground subject, such as a tree, person, pier, mountain, or building, adds scale and storytelling. Silhouettes work especially well because they emphasize shape and contrast against the glowing sky.
Try different angles before the light disappears. Move lower, shoot from a higher point, or change your position so the sun is partially blocked by an object if you want a sunstar effect. Small shifts in composition often make the difference between a standard sunset shot and an unforgettable one.
Beginner and Pro Advice
Beginners should focus on four things first: arrive early, use a tripod, keep the ISO low, and take multiple exposures. Bracketing can help when the sky is much brighter than the ground, which is common at sunset. If the image looks too dark in the foreground, expose for the sky and let the foreground become a silhouette.
Professionals usually work faster and think more selectively about light direction, lens choice, and subject placement. They often watch how the scene changes every few seconds, adjusting position and exposure continuously to catch the peak color window. The key difference is not just better gear, but faster decisions and more deliberate planning.
Check Out This Article >>Timeless in Monochrome: The Art of Black and White Pictures
Final Thoughts
The perfect sunset picture is usually the result of preparation, patience, and a good understanding of light. With the right timing, basic equipment, and simple composition choices, anyone can create images that feel rich and professional. Sunset photography rewards people who show up early, stay a little longer, and keep shooting as the sky changes
Jamie L. Taylor
Soft Life Luxury