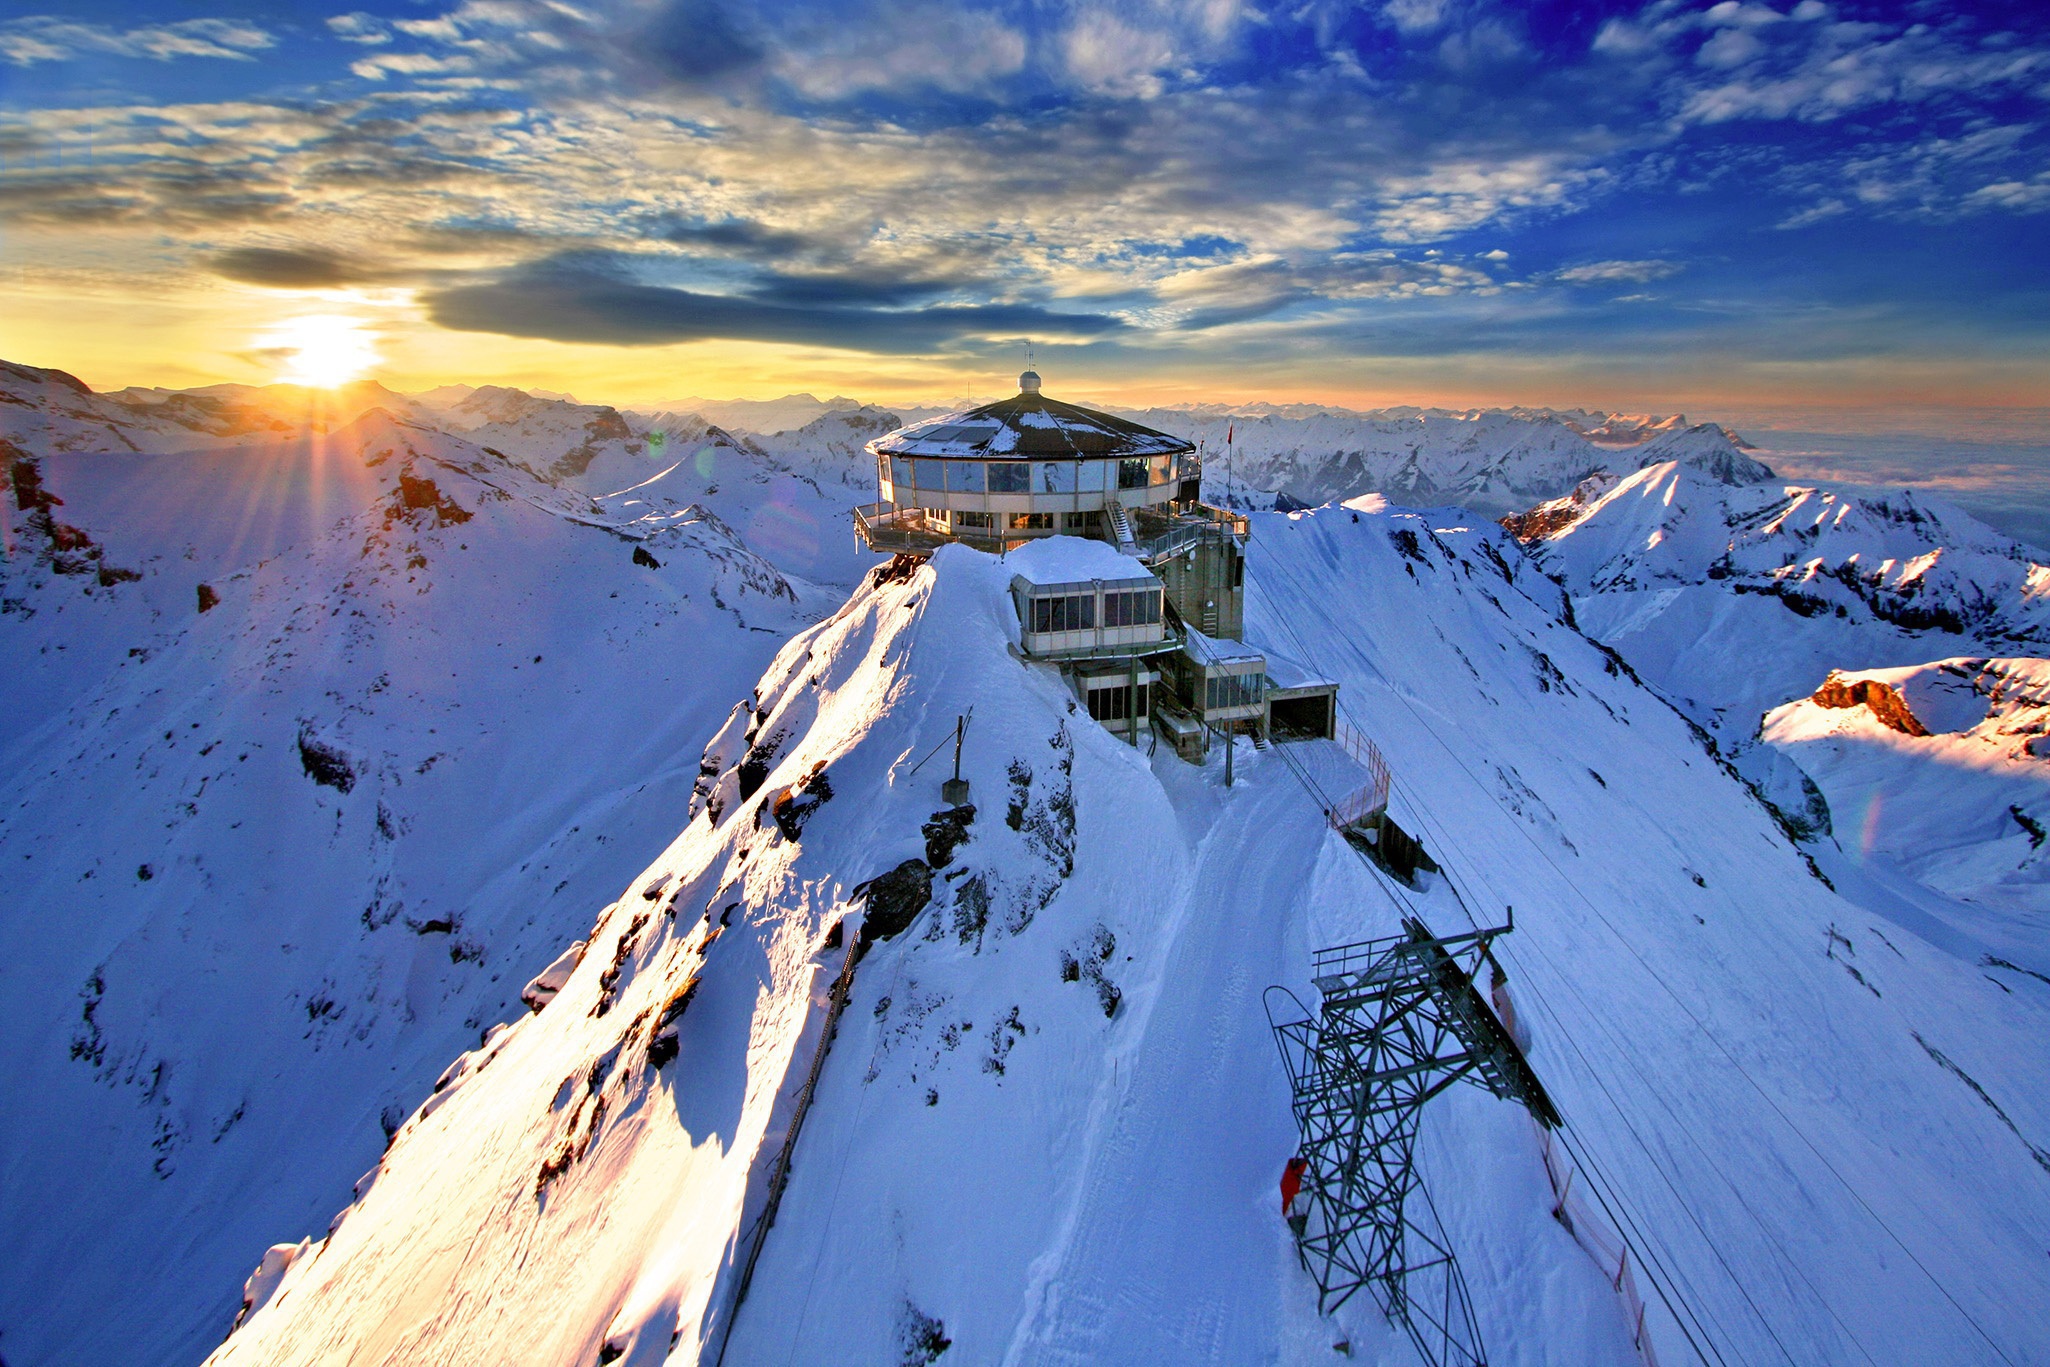
Sunrise photography blends science, art, and a little bit of magic. The soft glow, shifting colors, and peaceful stillness make sunrise one of the most rewarding times to shoot. Whether you’re a beginner or a seasoned pro, understanding the origins, equipment, timing, and techniques behind sunrise photography will elevate your images instantly.
🌅 The Origins & History of Sunrise Photography
Sunrise photography has roots in early landscape photography traditions of the 19th century. Pioneers like Carleton Watkins and Ansel Adams often relied on early‑morning light to capture dramatic tonal ranges in nature scenes. While their equipment was bulky and slow, the principles they used—soft light, long shadows, and atmospheric haze—still guide modern sunrise photographers. Modern guides emphasize the same fundamentals: sunrise offers cleaner colors, softer light, and fewer crowds, making it ideal for landscape work.
📸 Essential Equipment for Sunrise Photography
Below is a practical list of sunrise‑friendly gear, with descriptions and why each matters.
1. Camera (DSLR, Mirrorless, or High‑End Smartphone)
A camera with strong dynamic range helps capture bright skies and dark foregrounds. Modern cameras excel here, but even smartphones can work if they support long exposures.
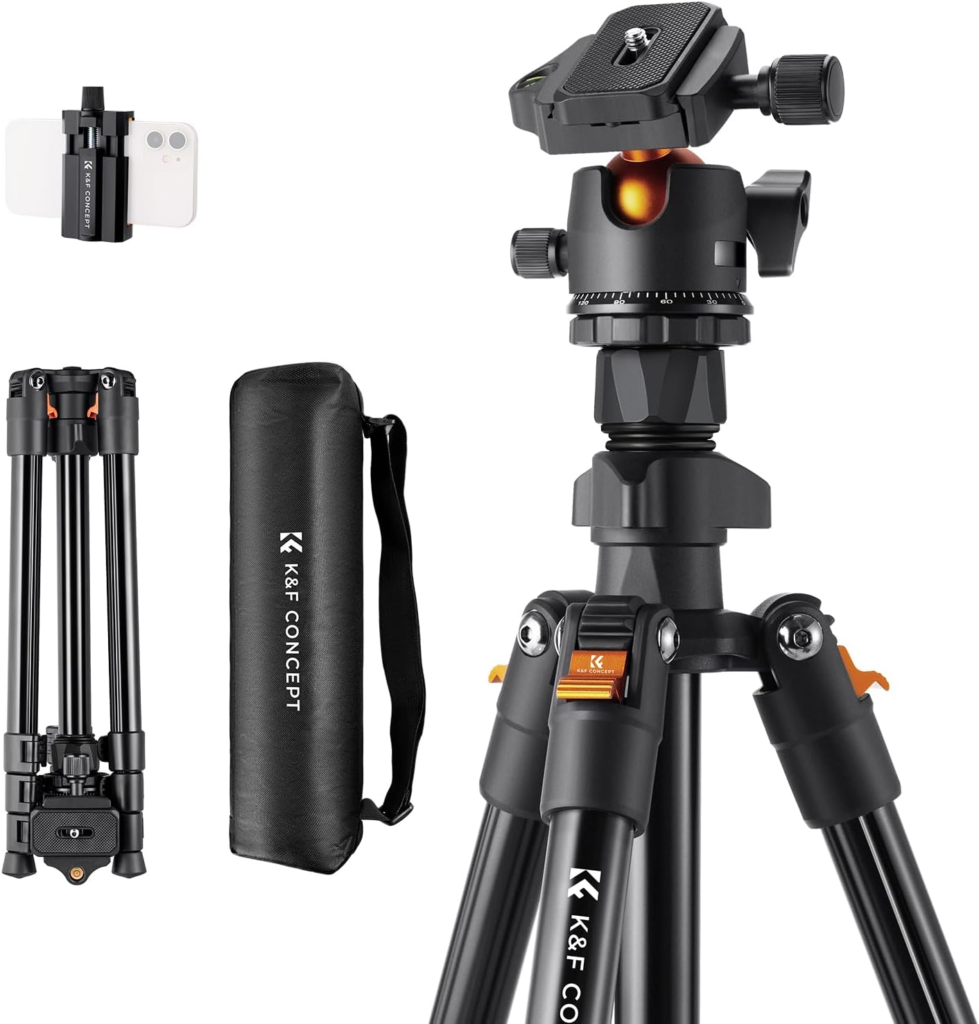
2. Tripod
Low light = slower shutter speeds. A sturdy tripod prevents blur and allows long exposures for silky water or cloud movement.
3. Lenses
- Wide‑angle lens for sweeping landscapes
- Telephoto lens for compressing the sun against mountains or buildings High‑quality lenses often matter more than the camera body.
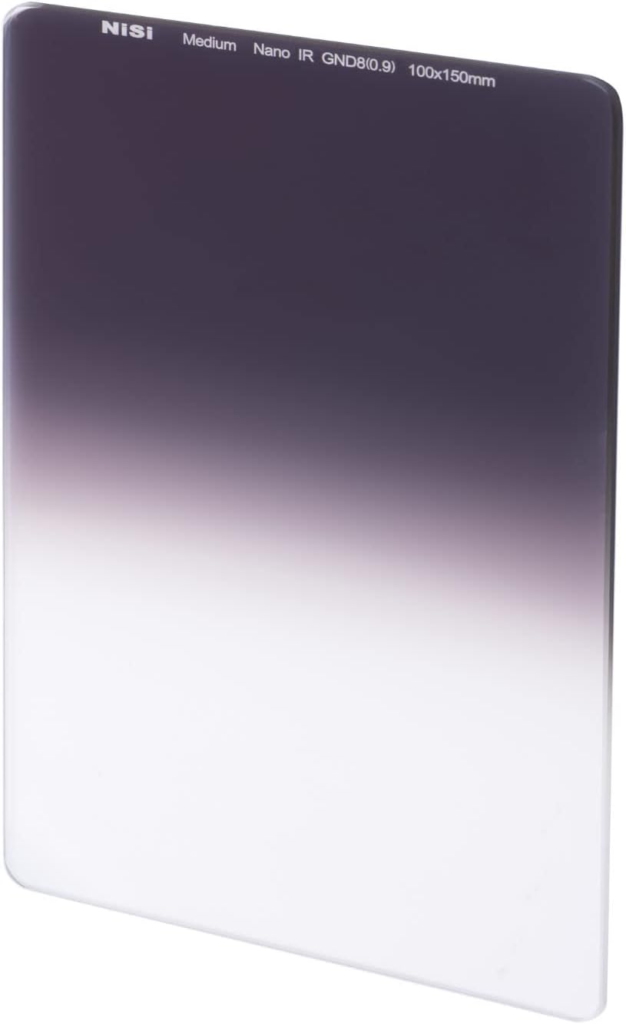
4. Filters
- ND filters for long exposures
- Graduated ND filters to balance bright skies and dark land
5. Remote Shutter or Timer
Prevents camera shake during long exposures.
6. Headlamp & Extra Batteries
You’ll be setting up in the dark—don’t skip these essentials.
🕒 Best Time to Shoot Sunrise
The best sunrise photos often happen before the sun actually rises.
Key Time Windows
- Blue Hour: 30–45 minutes before sunrise—cool tones, soft gradients
- Golden Hour: Begins at sunrise—warm, glowing light
- First Light: The moments just before the sun breaks the horizon—often the most dramatic
Experts agree: arrive at least 1 hour early to set up, scout, and catch pre‑sunrise colors.
Check This Out>> NiSi ND8 100x150mm Medium GND Filter | 3-Stop Medium Graduated Neutral Density Lens Filter | Long-Exposure and Landscape Photography
💡 Lighting Tips for Beginners & Pros
For Beginners
- Start with ISO 100 to reduce noise.
- Use aperture f/8–f/11 for sharp landscapes.
- Let the shutter speed adjust as light changes.
- Use apps like PhotoPills or The Photographer’s Ephemeris to predict sunrise angles.
Check Out This Blog>>Beach Photography Made Easy: A Beginner-to-Pro Guide to Taking Stunning Beach Pictures
For Professionals
- Experiment with long exposures for water, clouds, or city lights.
- Use focus stacking for ultra‑sharp foregrounds and backgrounds.
- Shoot HDR brackets to capture full dynamic range.
- Stay after sunrise—many photographers leave too early, missing incredible post‑sunrise glow.
📍 Location Planning
Great sunrise photos start with great planning.
- Scout locations the day before.
- Use Google Maps, Instagram, or sunrise‑location apps.
- Know exactly where the sun will rise relative to your scene.
- Arrive early to secure your spot and set up.
🧭 Quick Comparison Table
| Gear Type | Purpose | Best For |
|---|---|---|
| Tripod | Stability in low light | Beginners & Pros |
| Wide‑Angle Lens | Big landscapes | Beginners |
| Telephoto Lens | Sun compression & distant subjects | Pros |
| ND Filters | Long exposures | Pros |
| Remote Shutter | Prevents shake | All levels |
Check Out This Blog>>Family Pictures Made Easy: A Friendly Guide to Beautiful, Natural Portraits
🌞 Final Tips to Make Your Sunrise Photos Shine
- Pack your gear the night before.
- Check weather and cloud coverage—thin clouds = best colors.
- Stay flexible; light changes fast.
- Keep shooting even after the sun rises—some of the best colors appear later.
In the end, sunrise photography is about preparation, patience, and noticing how quickly the light changes. With the right location, steady composition, and a willingness to experiment, you can turn a fleeting morning moment into a memorable image.
Jamie L. Taylor
Soft Life Luxury