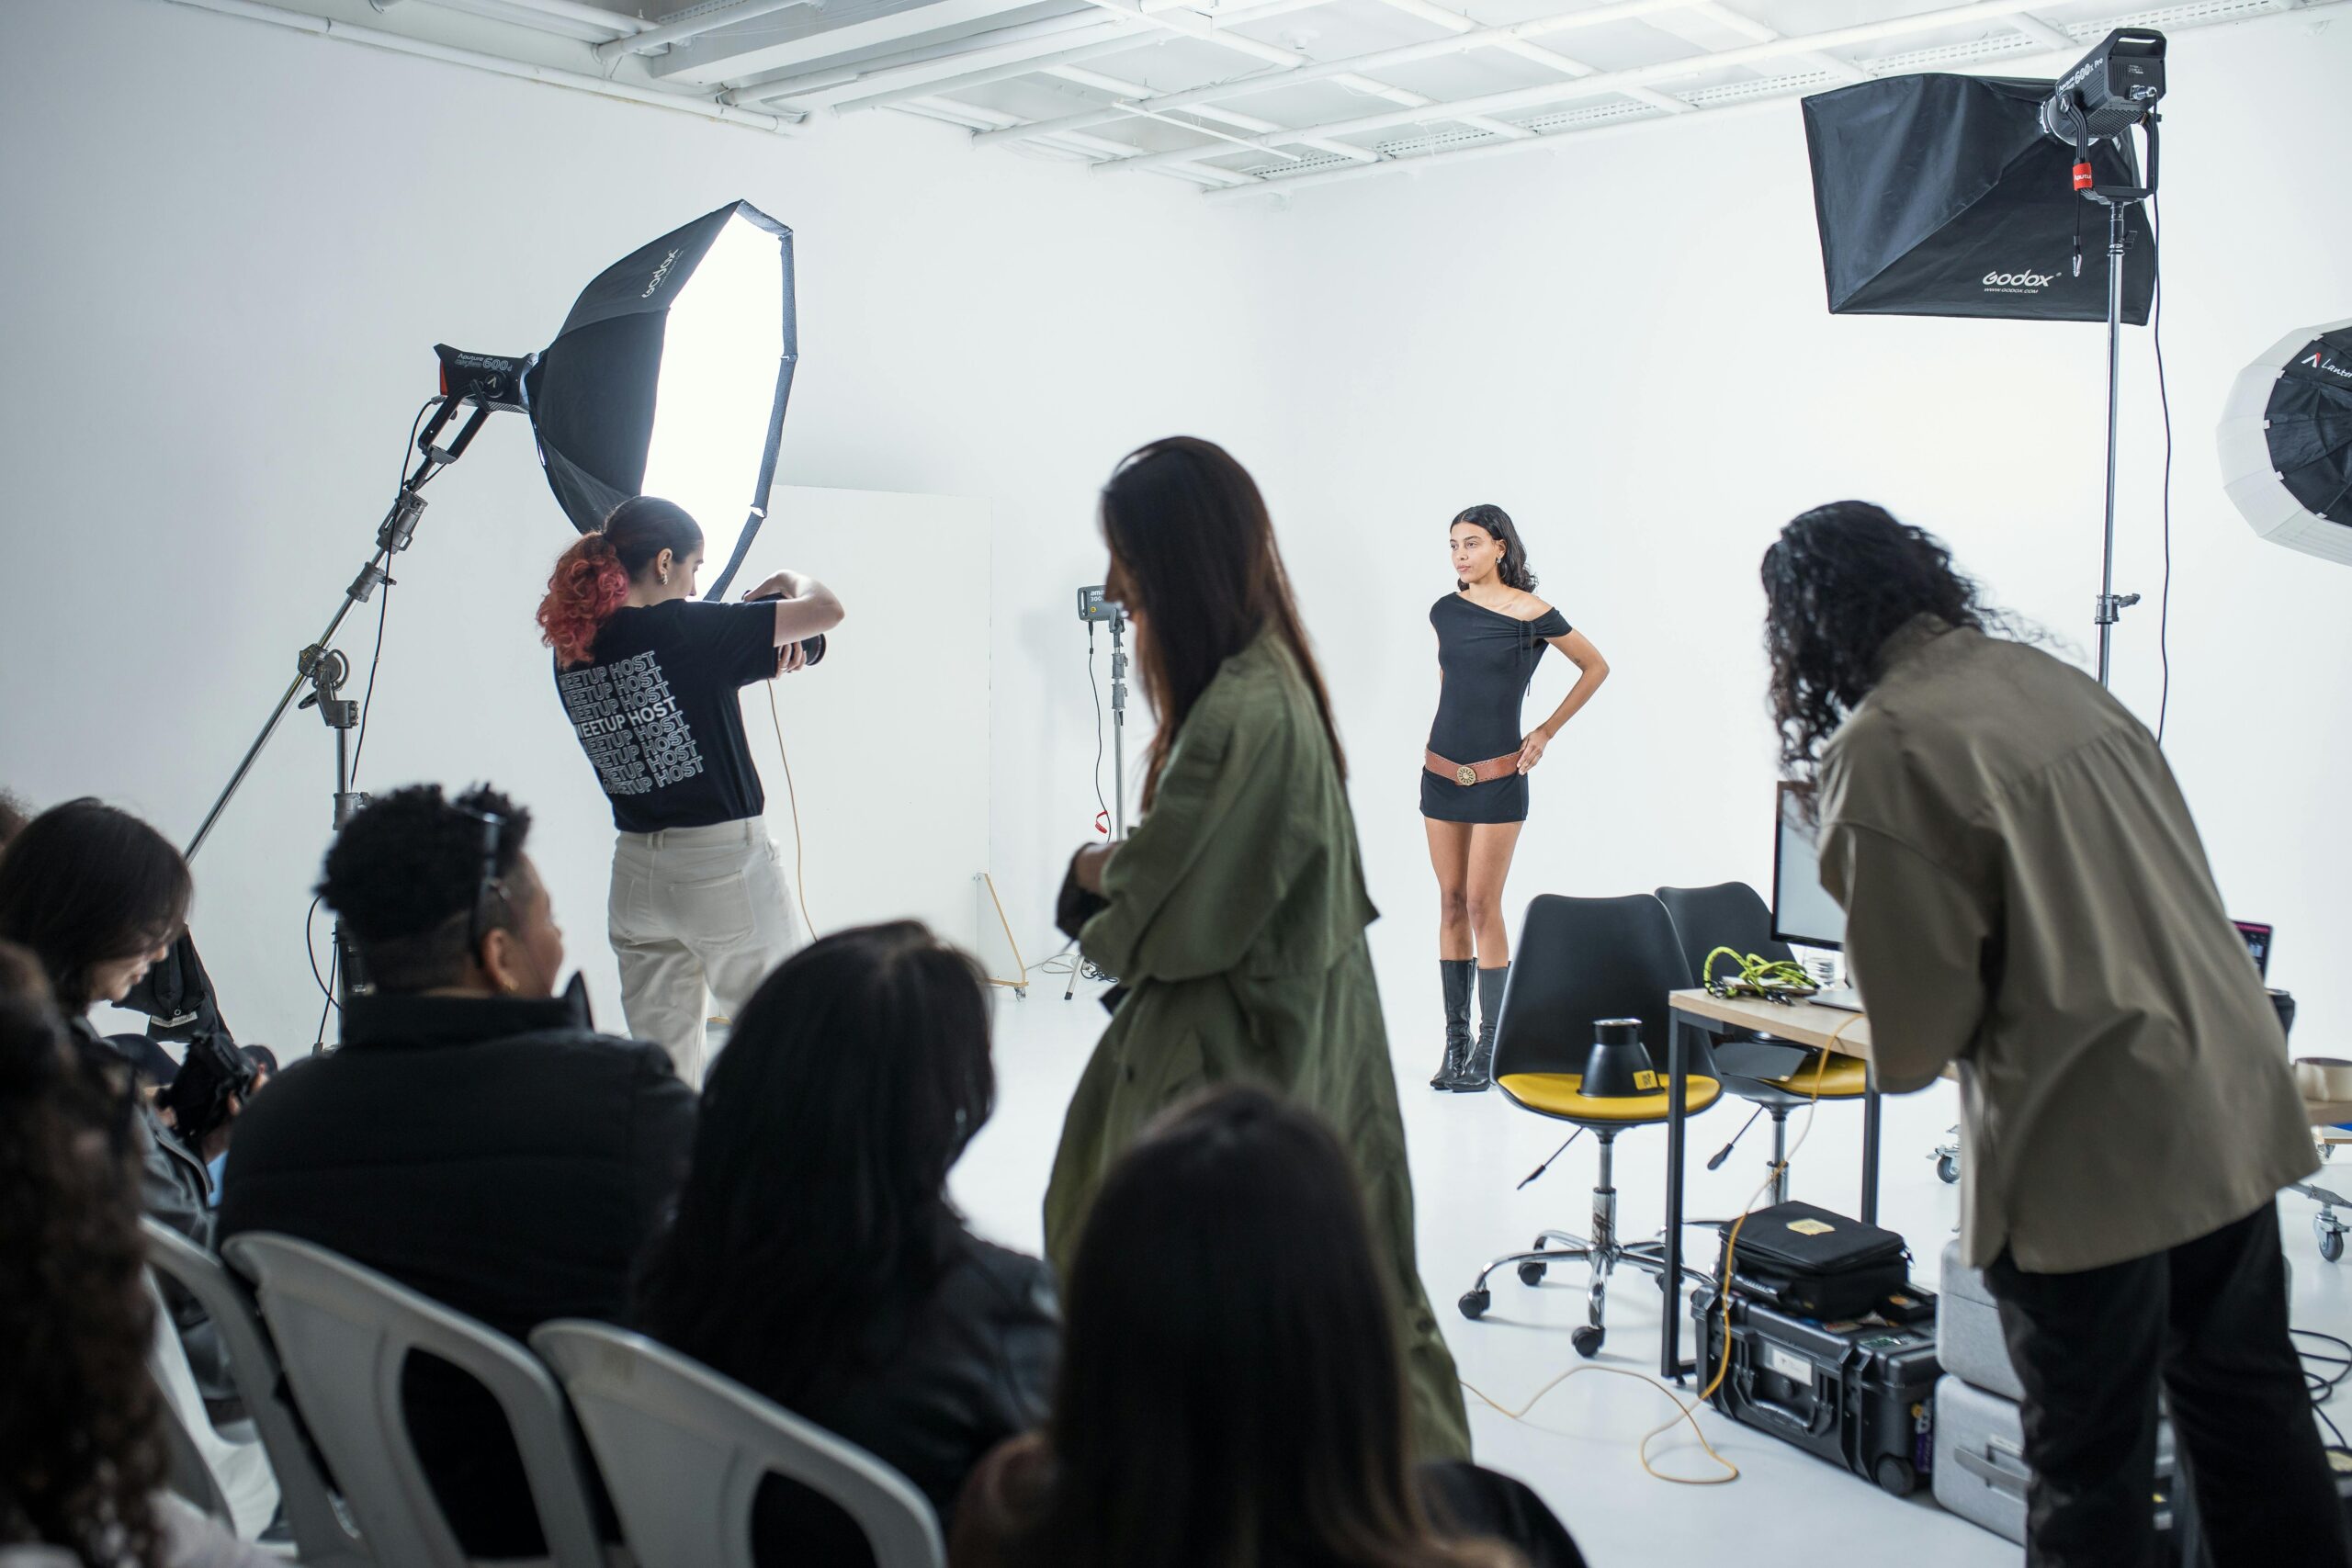
A successful photo shoot starts long before the camera clicks. The best results come from careful planning, the right equipment, and smart lighting choices that match your subject, location, and style.
Why Preparation Matters
Setting up for a photo shoot is about controlling the variables you can control: location, light, background, camera settings, and subject comfort. Even a simple setup can produce professional-looking images when everything is organized. Photography also has a long technical history, and the way photographers light scenes today builds on early breakthroughs like limelight, magnesium flash, and eventually electronic flash systems.
Essential Equipment List
Below is a practical equipment list for a beginner or working photographer.
- Camera body. This is your main image-capturing device. A DSLR or mirrorless camera is ideal because both allow manual control and interchangeable lenses.
- Lens. Your lens affects sharpness, perspective, and how much of the scene you capture. A 50mm prime is a great starter lens for portraits, while zoom lenses are useful for flexibility.
- Tripod. A tripod keeps your camera steady for portraits, product shots, and low-light scenes. It is especially useful when you need consistency across multiple frames.
- Lighting kit. For studio work, start with a key light, fill light, and backlight for balanced coverage and shape.
- Softbox or umbrella. These lighting modifiers soften harsh light and reduce shadows, which helps create more flattering skin tones.
- Reflector. A reflector bounces light back onto your subject and is one of the cheapest ways to improve shadow control.
- Backdrop or seamless paper. A clean background keeps attention on the subject and is especially useful for portraits and product photography.
- Memory cards and spare batteries. These are critical so you do not lose time during a shoot or run out of storage unexpectedly.
- Light stands and clamps. These hold your lights and modifiers safely at the right height and angle.
- Props and styling tools. These help tell a story and make the shoot feel intentional, especially for fashion, branding, or product work.
Setup Process
Start by defining the purpose of the shoot. A portrait session, product shoot, brand campaign, and content shoot all need different lighting, backgrounds, and equipment. Next, scout the location and decide whether natural light or artificial light will work better for the look you want.
Then build your setup from the background forward. Position the backdrop first, place the subject, and then adjust the main light so it shapes the face or product cleanly. From there, add fill light or reflectors to reduce shadows, and use a backlight if you want more separation from the background.
Lighting History and Origin
Lighting has always shaped photography. Early photography depended heavily on sunlight, which made shooting difficult and limited by weather. In the 19th century, photographers began experimenting with artificial light sources such as limelight and magnesium to extend shooting possibilities. Over time, lighting moved from candles and gas-based sources in stage and image-making traditions to incandescent bulbs, flash powder, and finally modern electronic flash and LED systems.
Best Time for Light
For outdoor shoots, the best times are usually early morning and late afternoon. These periods create soft, flattering light and are often called golden hour because the sun is lower in the sky and produces warm tones. Midday light is often too harsh and can create deep shadows under the eyes and nose, so it is usually harder for beginners to manage.
For indoor shoots, the best time depends on window direction and the quality of natural light. A bright window with indirect daylight can work beautifully for portraits, while a controlled studio setup is better when you want repeatable results.
Lighting Advice for Beginners
Beginners should keep lighting simple. Start with one light source and a reflector before adding extra lights, because fewer variables make it easier to learn how shadows behave. A window light setup near a plain backdrop is often the easiest way to begin.
Use diffused light whenever possible. Softboxes, umbrellas, and octaboxes spread light more evenly and are less likely to create harsh skin textures or distracting shadows. If you are shooting outdoors, move your subject into open shade or position them so the sun is behind them and use fill light or a reflector in front.
Lighting Advice for Professionals
Professionals usually aim for consistency, speed, and creative control. A three-point lighting setup remains one of the most reliable studio arrangements because it shapes the subject cleanly and separates them from the background. Professionals also use modifiers, gels, and controlled ratios between lights to build a specific mood or brand style.
For commercial and portrait work, test your lighting before the shoot begins. Check catchlights in the eyes, shadow direction, and background separation, then refine based on the final look you want. That extra test shot can save a lot of editing time later.